5 Easy Steps to Achieve a Professional Cabinet Finish with DIY Coating Kits
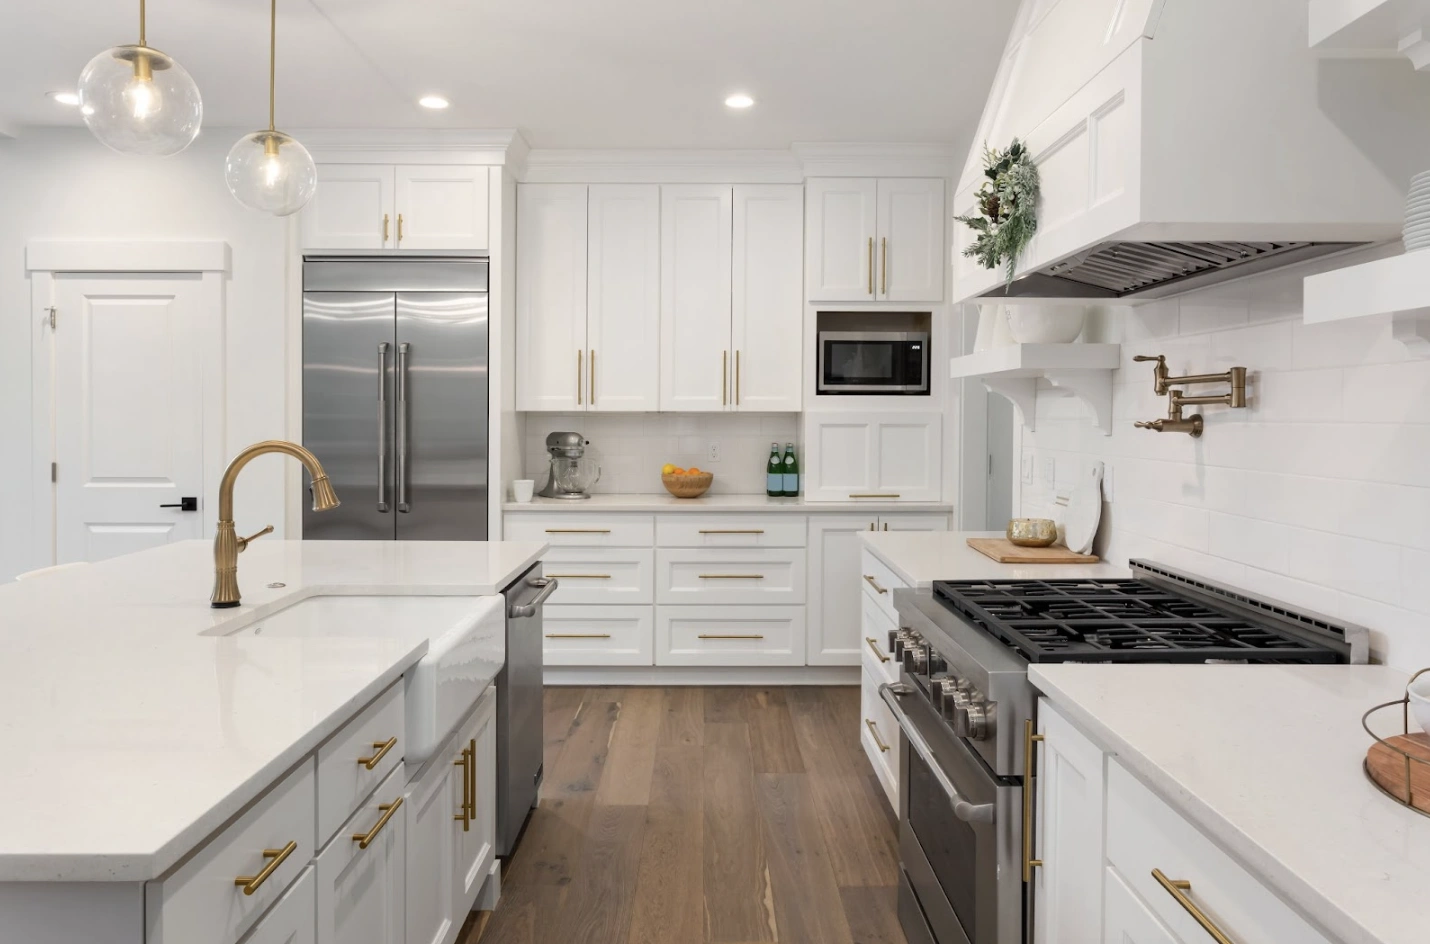
If you’re tired of looking at your outdated kitchen cabinets but don’t want to spend a fortune on a full renovation, DIY cabinet coating kits are the perfect solution. These kits are designed to give your cabinets a professional-quality finish without the hefty price tag or need for expert skills. With the right tools and a little bit of patience, you can transform your cabinets and make your kitchen feel brand new.
Ready to get started? Here’s a step-by-step guide to achieving a flawless cabinet finish with DIY coating kits.
1. Prep Your Cabinets for Success
Why Proper Prep Makes All the Difference
The key to a smooth, durable cabinet finish starts with proper prep work. Before you dive into applying the coating, make sure your cabinets are ready for the transformation.
First, remove all cabinet doors, drawers, and hardware. This gives you full access to every surface, making it easier to coat without missing any spots. Next, clean your cabinets thoroughly with a mild detergent or degreaser to remove any grease, dirt, or residue that could interfere with the coating’s adhesion.
Once your cabinets are clean and dry, lightly sand them to create a rough surface that will help the coating bond better. You don’t need to strip them down completely—just give them enough texture to ensure a solid grip for the paint.
2. Choose the Right Coating Kit
Picking the Perfect Finish and Color
Vibrant Cabinet Coating offers a variety of kits to suit every style, from modern to classic. The best part? You can customize the finish and color to match your vision. Whether you prefer a glossy, satin, or matte finish, there’s a coating that’ll work for your cabinets.
Take your time when choosing the color. If you’re unsure, grab a few color samples and see how they look in your kitchen’s lighting. Lighter shades can brighten up a small space, while darker hues can create a sleek, bold statement.
To explore our full range of DIY cabinet coating kits, head over to our collection of finishes and colors and find the one that best fits your style.
3. Apply the First Coat
Start with a Thin Layer for a Flawless Base
Now that your cabinets are prepped and you’ve picked the perfect coating, it’s time to start painting! Begin by stirring the coating thoroughly to ensure an even consistency. Use a high-quality brush or roller to apply a thin, even layer of the coating to your cabinet doors, drawers, and frames.
Make sure to follow the wood grain as you apply the paint, which helps to achieve a smooth, professional-looking finish. Don’t worry if the first coat appears light or a little uneven—that’s completely normal. The first coat acts as a base layer, and additional coats will build up to create a more even, opaque finish.
For detailed instructions on applying your first coat, take a look at our step-by-step coating guide for insider tips on getting a perfect finish.
4. Let It Dry and Reapply
Patience Is Key to a Smooth Finish
After applying the first coat, it’s important to let it dry completely before adding another layer. Depending on the humidity and temperature in your space, this could take a few hours. Be patient and resist the urge to rush—it’ll pay off in the end!
Once the first coat is fully dry, apply a second coat following the same technique. This second layer will fill in any streaks or light spots, giving your cabinets that full, polished look. If needed, apply a third coat for extra coverage or if you’re working with a darker color.
Want to speed up the drying process? Check out our pro tips for fast, efficient drying and learn how to get the best results in less time.
5. Reassemble and Enjoy Your New Cabinets
Put It All Together for the Big Reveal
Once your final coat is dry, it’s time to reassemble your cabinets and bring your kitchen makeover to life. Carefully reattach the hardware, hinges, and doors. If you’re looking for an extra touch, consider upgrading your cabinet hardware with new knobs or handles to complete the fresh look.
Step back and admire your work! Your kitchen now has a completely updated, professional-grade finish—all thanks to a DIY coating kit. Not only did you save money, but you also gave your space a fresh, modern feel without the hassle of a full renovation.
Ready to start your own project? Browse our cabinet coating kits and get everything you need for a stunning transformation today.
Conclusion: Get a Pro-Level Finish Without the Pro Price
DIY cabinet coating kits are an affordable, effective way to refresh your kitchen without breaking the bank. By following these simple steps, you can achieve a professional-quality finish that’ll make your cabinets look brand new. With proper prep, the right products, and a little patience, your kitchen can have the makeover it deserves.
If you’re ready to tackle your own cabinet project, head over to Vibrant Cabinet Coatings to find everything you need for a flawless finish. Whether you’re updating your kitchen, bathroom, or any other cabinetry, our kits are designed to help you achieve beautiful, lasting results—without the professional price tag.