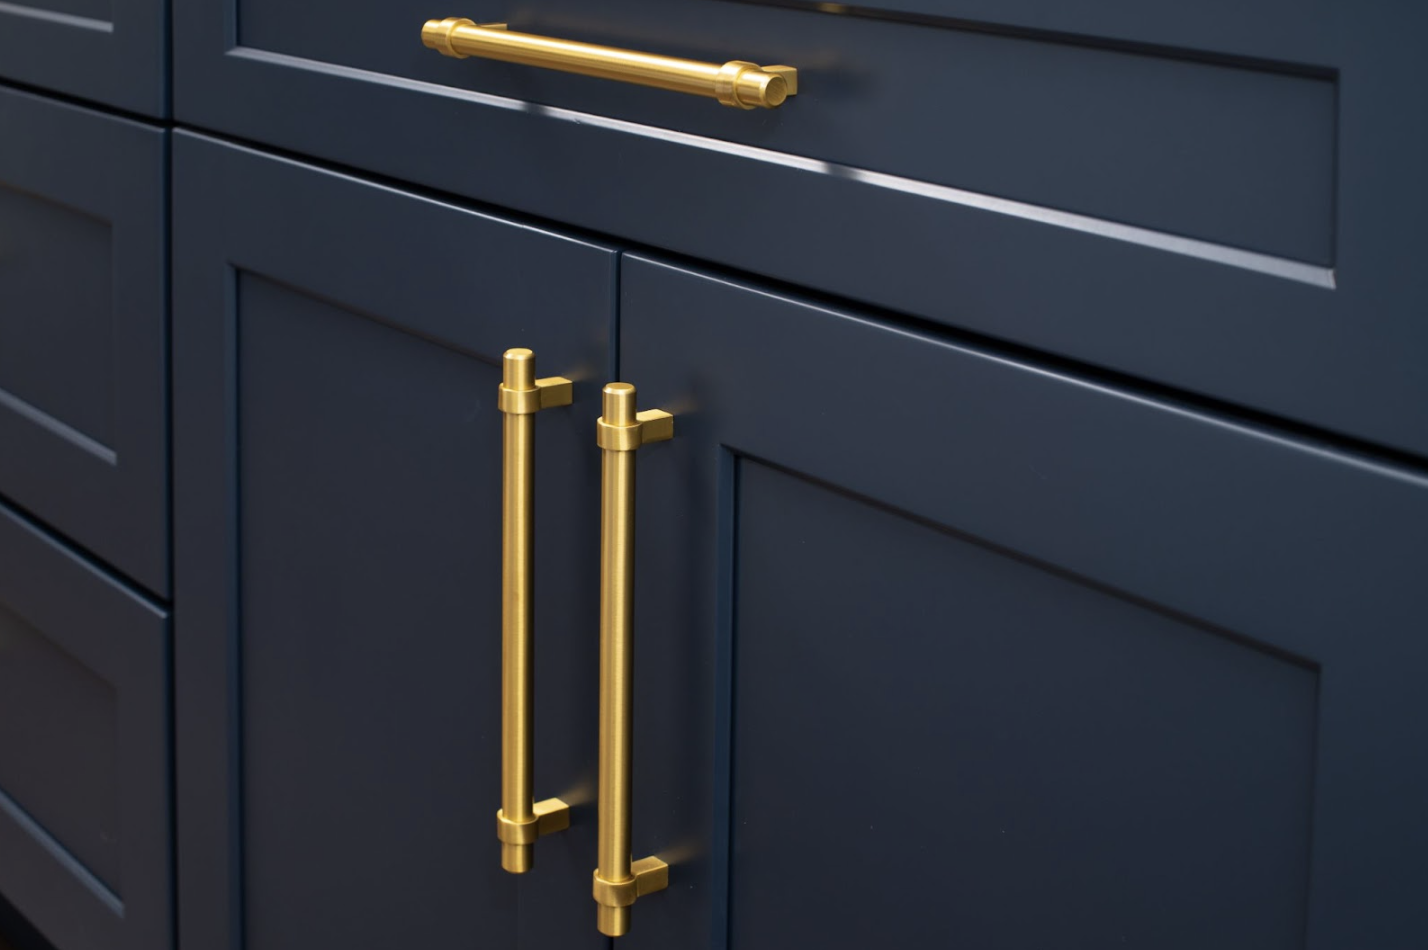
How to Refresh Your Kitchen Cabinets with Vibrant Cabinet Coating: A Step-by-Step Guide
Is your kitchen starting to feel a little outdated? One of the easiest ways to give your space a fresh, modern look is by revamping your cabinets. Instead of splurging on brand-new ones, a simple cabinet coating can transform your kitchen for a fraction of the cost. With Vibrant Cabinet Coating, you can achieve professional-quality results without the hefty price tag or time-consuming renovation.
Ready to get started? Here’s a step-by-step guide to refreshing your kitchen cabinets with our easy-to-use cabinet coating kit.
Step 1: Gather Your Supplies
Everything You Need for a Smooth Project
Before you dive into the project, make sure you’ve got all the necessary supplies to get the job done efficiently. Vibrant Cabinet Coating kits come with everything you need to coat your cabinets, but there are a few additional items that’ll make the process easier.
Here’s a checklist:
- Vibrant Cabinet Coating Kit (includes coating, brushes, and rollers)
- Screwdriver (for removing hardware)
- Painter’s tape
- Drop cloths or plastic sheeting
- Sandpaper (if needed)
- Cleaning solution (mild detergent or degreaser)
Step 2: Prep Your Cabinets
Preparation Is Key to a Flawless Finish
Before you start applying any coating, it’s crucial to properly prepare your cabinets. This step ensures the coating adheres smoothly and lasts for years to come.
First, remove all the cabinet doors, drawers, and hardware (hinges, knobs, handles). This will make it easier to coat every inch of your cabinets without leaving out any spots. Once the doors and drawers are off, clean the surfaces thoroughly. Any grease, dirt, or dust can prevent the coating from sticking properly, so make sure everything is squeaky clean.
Next, lightly sand the surfaces of your cabinets to remove any existing finish. You don’t need to strip them completely—just give them a rough texture that allows the new coating to bond well.
Step 3: Tape Off Surrounding Areas
Protect Your Kitchen from Accidental Drips and Splashes
Nobody wants to end up with paint splatters on countertops, walls, or appliances, so be sure to cover and protect the areas around your cabinets. Use painter’s tape to mask off edges and corners. Lay down drop cloths or plastic sheeting to cover your floors and countertops, protecting them from any accidental drips or spills.
Taking the extra time to prep your space ensures a clean, professional-looking finish without unwanted messes.
Step 4: Apply the First Coat
Time to See the Transformation Begin
Now comes the exciting part—applying the first coat of Vibrant Cabinet Coating! Start by stirring the coating thoroughly to ensure an even consistency. Using the brushes and rollers provided in the kit, begin by applying a thin, even layer of coating to the cabinet doors and frames.
Make sure to work in long, smooth strokes, following the grain of the wood for the best results. Don’t worry if the first coat looks a little light or streaky—this is totally normal. The first coat serves as the base, and subsequent coats will fill in any gaps for a smooth, flawless finish.
Step 5: Let It Dry and Repeat
Patience Pays Off
After applying the first coat, let it dry completely before moving on to the second coat. Depending on the humidity and temperature in your kitchen, this could take a few hours. Check the drying time instructions on your Vibrant Cabinet Coating kit for specific recommendations.
Once the first coat is dry, apply a second coat in the same manner, making sure to cover all surfaces evenly. This second layer will provide the depth and coverage needed to achieve that professional-quality finish. If needed, you can apply a third coat for extra durability and smoothness.
If you’re unsure about how many coats your cabinets will need, contact our team for personalized advice based on your project.
Step 6: Reattach the Hardware and Doors
Put It All Back Together for the Big Reveal
Once the final coat has dried completely, it’s time to reassemble your cabinets. Reattach the hardware (or upgrade to new knobs and handles if you’re going for a fresh look), and carefully hang the doors back in place. Take a step back and admire the transformation!
Your kitchen now has a brand-new look without the hassle or cost of replacing cabinets entirely. The durable coating will protect your cabinets from everyday wear and tear, keeping them looking fresh for years to come.
Step 7: Enjoy Your New Kitchen
A Fresh, Stylish Space at a Fraction of the Cost
Congratulations! You’ve just completed a professional-quality kitchen makeover using a DIY cabinet coating kit. Not only does your kitchen look refreshed and modern, but you’ve also saved a significant amount of money compared to hiring contractors or replacing your cabinets altogether.
And the best part? You did it all yourself!
If you’re interested in more DIY cabinet coating projects or need tips for future home improvement tasks, explore our blog for more inspiration.
Conclusion: Why Vibrant Cabinet Coating Is the Perfect Choice
Refreshing your kitchen cabinets doesn’t have to be a long, expensive process. With Vibrant Cabinet Coating kits, you can achieve a professional, long-lasting finish at a fraction of the cost and time it takes to replace cabinets. Our easy-to-use kits are designed for DIYers of all skill levels, providing everything you need for a stunning cabinet transformation.
Ready to tackle your own cabinet project? Browse our selection of DIY coating kits and start planning your kitchen refresh today!